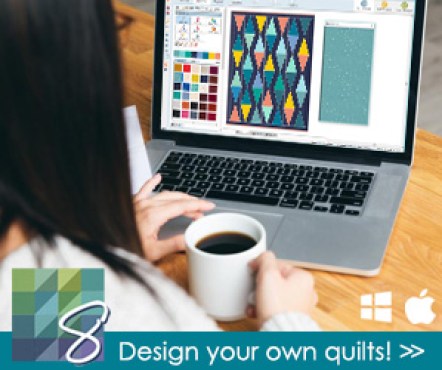
If you’ve been wanting to design a quilt on the computer? Or play with different fabrics and layouts quickly before you make a decision to piece the blocks together?
Well, today I’m going to show how you can easily do so with Electric Quilt 8 Software.
Electric Quilt Software
Electric Quilt software is a powerful tool designed to cater to quilters of all skill levels. From novices to experienced quilters, this software opens up a world of possibilities. With its intuitive interface and user-friendly features, you’ll find yourself immersed in a quilting wonderland where your imagination knows no bounds.
Save 25% on EQ8, Upgrades, and Lesson Books at Electric Quilt HERE> with code LEARN. Sale ends at 11:59pm ET on 8/15/23.
The Electric Quilt software Version EQ8 is available for download for Mac and Windows and it’s pretty straight to use. However, there’s also some learning curve if you want to take your design to another level. At the moment I only use the basic tools and I like EQ8 most for figuring out the layout, the yardages required, and cutting directions.
In this post, I’ll bring you along as I quickly design the simple baby quilt I just made earlier – Churn Dash Quilt

Picking the quilt layout
I begin with picking the layout. I wanted to make a simple 9 blocks and sashing in between. In the quilt layout section, you can easily change the number of blocks, and pick different layouts such as on-point and even custom layouts where you can have various-sized blocks.
This is also where you can set the size of the sashing. All of this is made easy with sliders on the left-hand side of the screen. 
Picking ready-to-use blocks
With the extensive library of blocks, here is where you can easily start. Just pick the blocks and place them in the current sketchbook and it’s ready to use in the quilt layout.
You can edit these blocks in the block worktable but you can also use it as is. Easy as pie. 
I picked the block called the Monkey Wrench – which I know as Churn Dash Block for this quilt. I then simply click the empty layout and filled it in with the block.
Colouring the quilt
Now comes the fun part and my favourite part of EQ8. Colouring the quilt with the fabric you have at hand! You can simply upload the fabric in the library or use similar colours in the library provided.
There are various options here, you can buy an add-on library of new fabrics where collections of fabrics are ready to use for you or you can upload it yourself. I usually do the latter one. Simply take a photo of your fabrics and upload it or find your fabrics online and save the photos and upload them in the library.
Once uploaded, you can use it like a paintbrush. I love this part of the EQ8 and the concept of digital quilts. You can quickly switch around fabrics and see how it looks before you piece them together!
Printing the block-cutting directions
You can print out the block-cutting directions easily with a click of a button and it will come out with such layout below.I like to refer to this and I usually change the values slightly to take into account some trimmings. For example, for the half-square triangles. In the block cutting directions given, it is the exact cut. I like to make mine slightly bigger so I can trim to the exact final size.
For example, this block, calls for a 4 7/8″ square for the half-square triangle units to make a 4.5″ unit. I simply round that to 5″ instead of cutting the fiddly 4 7/8″.
I also look for any opportunity to cut time and include strip cutting like the 4.5″ x 2.5″ rectangles can be cut into long strips of 2.5″, pieced together and then later cut into 4.5″ square units. These changes are the things I like to include in my quilt pattern if I were to share the quilt pattern. But if it is for me, I usually just make a mental note or note it down on this piece of cutting directions. 
Fabric Requirement
Once you’ve designed a quilt, you can also print out the fabric requirements. There’s an option on fabric from yardage or fat quarters to make it easy if you’re working from a fat quarter bundle. I usually love this for estimating how much background fabric I need. This is also really helpful when you want to make a larger quilt and want to know how much fabric would you need to make a quilt pattern in a bigger size. 

Overall, I am yet to explore more about Electric Quilt and I am still using it for the very basics but I find it really helpful to have. If you want to try it, buy it on sale like it is right now where you can save 25%! I bought mine during the sale too and the fact that it can be digitally downloaded makes it easy for me as well. 
Speaking of Sale, there is a limited-time sale right now that you may want to check out. Use code: LEARN and get 25% off right now at Electric Quilt. Sale ends at 11:59pm ET on 8/15/23.
Let me know if you too have used EQ8 and if you want me to share more of the behind the scene. I love that you can quickly design a quilt with EQ8, and get straight to the most fun part – sewing it together!


